
Understanding Blazor Render Modes
Sunday, 22 June 2025
If you’re passionate about building for the future of the web, Blazor should be at the top of your list. Blazor has exploded in popularity, quickly becoming Microsoft’s flagship web UI framework and at Build 2025, Microsoft made it clear: Blazor is the future of .NET web development.
With .NET 8 (and improved in .NET 9), Blazor settled on three primary render modes: SSR, Server, and WASM. They also introduced the new InteractiveAuto mode that downloads WASM in the background while initially rendering in server mode. What I find genuinely exciting is how flexible Blazor is, you can now mix and match these modes in your application, allowing you to pick the right approach for each page or component. This flexibility unlocks new ways to build fast, interactive, and modern web apps, no matter what your requirements are.
In this blog, I’ll break down how each render mode works, their real-world pros and cons, and some of the pitfalls to watch out for (especially with the new hybrid and auto options). Whether you’re building your very first Blazor app or planning a large-scale migration, getting to grips with render modes is a superpower that’ll help you ship robust, lightning-fast, future-proof solutions.
I also updated my blog site to use SSR with InteractiveAuto for the interactive elements, though this had some challenges with MudBlazor (more on that below).
Note: You can view some code examples in my Blazor 101 repo.
Blazor SSR (Server-Side Rendering) 🖥️
Let’s start with the default render mode for Blazor, Server-Side Rendering (SSR). This mode mirrors the more traditional Web UI that a lot of .NET Developers will be familiar with. It works in a similar way to Razor Pages or WebMVC. You create views in Razor that load data on the server, and the server renders the HTML and streams that down to the client. You lose the ability to do interactivity client-side, but you have all the security that comes with keeping all your logic and code server-side.
This mode excels when your primary goal is to get content in front of users as quickly as possible, while also ensuring your app is discoverable by search engines. With SSR, users are presented with a fully rendered page right from the initial request, minimizing loading delays and improving perceived performance. This makes it ideal for scenarios where SEO is a key requirement, such as blogs, landing pages, and marketing sites. Not only does it give your users a snappy experience, but it also helps your content rank higher in search results by providing complete, indexable HTML straight from the server. 🌍
So what does the code look like for Blazor in SSR mode? Lets start with Program.cs, we need to make sure we register out RazorComponents:
// Add services to the container.
builder.Services.AddRazorComponents();

// ...

// Map Razor components
app.MapRazorComponents<App>();
In this example, we’re not loading any interactive render modes, though you can easily add this later. SSR mode also supports streaming results to a page. This allows you to have a quick first render while the data the page needs is streamed in later. To enable this, you can set the attribute StreamRendering on your pages/components. It’s worth noting that the first paint for the page will show the loading details, so if you want the content of the page to be indexed by search engines, you should probably skip this attribute.
@attribute [StreamRendering]
Blazor Server (Interactive Server-Side) 🌐
Blazor Server mode is the next step up from SSR. When running in InteractiveServer mode, we keep all the .NET code running on the server. When a user interacts with the app, events (such as clicks or text input) are sent back to the server over a lightweight SignalR WebSocket connection. The server handles UI logic and sends UI updates (diffs) to the browser in real time. This lets you build highly interactive apps with a small initial download and the full power of .NET. It also means you don’t have to download the runtime to the client.
The trade-off is that every interaction depends on network connectivity, and you need to consider scalability as each client connection uses server resources. You also have to manage state for your users to provide the best experience (this is getting better in .NET 10 later this year). Why is this important? As it uses a live connection to the server, if your client loses connection, the state is lost with it. This could cause users to lose data, a common scenario would be someone starting something, then going on lunch. When they come back, they’d see the server disconnected message; upon refreshing, all their data would be lost. ⚠️
A big win with Server mode is the fact that all your code remains server-side. You don’t have to worry about your business logic being exposed to the client and you can more easily manage security, authentication, and authorization when dealing with the server. It’s also really quick to load (assuming a fast internet connection), so users don’t have to worry about that initial load. As mentioned earlier, as it’s only sending diffs back and forth, the data is minimal, but it does require a constant connection. Blazor has some resiliency for intermittent connections as it keeps the socket open for a while, but it will eventually close it if the client doesn’t reconnect.
You should use this when you want an interactive application but require keeping your code on the server in a more secure and controlled environment.
Let’s have a look at what we need to do to enable Interactive Server mode. You can choose to do this at the global level by setting the main Routes entry to rendermode InteractiveServer:
<body>
    <Routes @rendermode="InteractiveServer" />
    <script src="_framework/blazor.web.js"></script>
</body>
We also have to enable this in the Program.cs file by adding the AddInteractiveServerComponents() and AddInteractiveServerRenderMode().
// Add services to the container.
builder.Services.AddRazorComponents()
    .AddInteractiveServerComponents();

// ...

app.MapRazorComponents<App>()
    .AddInteractiveServerRenderMode();
You can also set each individual component/page to use Interactive Server by setting the mode at the start of the file:
@rendermode InteractiveServer
Blazor WASM (WebAssembly) 🔥
Blazor has two WASM modes: WASM standalone (where the whole Blazor app runs client-side, no interactive server or SSR), and WASM in InteractiveAuto mode, where the page/component starts off in Interactive Server mode and downloads the WASM runtime in the background ready for the next time the page is refreshed. For this section, I’ll talk about WASM Standalone.
In standalone mode, your Blazor app, including the .NET runtime and all assemblies, runs entirely in the browser. This does increase the initial response time of your application, but after the initial download, everything executes client-side. This means you get true offline support and your server only has to serve static assets and APIs, like a typical JavaScript app framework.
WASM apps are really good when you want to support offline mode (they can even run Entity Framework in the browser!) for a rich user experience. For most modern applications, I think WASM is the best way to go as you get the best of everything. 💡
So what do we need for a standalone WASM app? There are a couple of differences. For a start, they have an index.html file, which is the entry point of the markup. They have an App.razor component as well, but in WASM mode, this is the router details, whereas in an SSR/Server project, the App.razor is the markup entry point and they have a separate Route.razor page to handle the routes.
Our Program.cs file is also very different:
var builder = WebAssemblyHostBuilder.CreateDefault(args);
builder.RootComponents.Add<App>("#app");
builder.RootComponents.Add<HeadOutlet>("head::after");

builder.Services.AddScoped(sp =>
    new HttpClient { BaseAddress = new Uri(builder.HostEnvironment.BaseAddress) });

await builder.Build().RunAsync();
You still register dependencies in the same way, but no longer have any of the other server calls. You also don’t have to specify any @rendermode details as it’s interactive by default.
InteractiveAuto 🤖
Before InteractiveAuto came onto the scene, you had to choose which render mode you wanted at the start of your project as it wasn’t that easy to change it afterwards. In .NET 8, this all changed with the introduction of the new Blazor WebApp project template and the InteractiveAuto render mode. With this setup, we can get the best of both worlds, really fast SSR for that initial page load, and then Server/WASM mode for individual pages/components that require interactivity. Sounds great, right? 😁
This render mode has some really cool features and is incredibly powerful, but it does come with one catch, and that’s complexity. When you have this blending of server-side and client-side code, you have to be very careful with your components. The biggest thing is loading data: the initial load might be in Server mode, so you can run database queries directly. That same component, though, once it’s switched to WASM when you reload it, no longer has that direct database access and needs to go via an API call with HttpClient. Luckily, .NET 9 provides a handy helper method that lets you work out what render mode you’re currently in with the RendererInfo static class.
If you want to add this new Auto mode to your project, you need to do a couple of things. The first thing is to add a new Blazor WASM project to your solution. Typically, this would be called [ProjectName].Client, so for example if your current project was ChatApp.Web you would call the WASM project ChatApp.Web.Client. You then need to make sure your current project references the new Client app. You also need to clean up the new Client project, all you need is:

In your main Blazor app, you need to add some extra details to your Program.cs file:
// Add services to the container.
builder.Services.AddRazorComponents()
    .AddInteractiveServerComponents()
    .AddInteractiveWebAssemblyComponents();

// ...

app.MapRazorComponents<App>()
    .AddInteractiveServerRenderMode()
    .AddInteractiveWebAssemblyRenderMode()
    .AddAdditionalAssemblies(typeof(BlazorHybrid.Client._Imports).Assembly);
Here we add in the new AddInteractiveWebAssemblyComponents() and AddInteractiveWebAssemblyRenderMode() with AddAdditionalAssemblies() to make sure all your WASM code is included.
Next, we need to update our Routes.razor page to include the extra assemblies with the AdditionalAssemblies parameter:
<Router AppAssembly="typeof(Program).Assembly" AdditionalAssemblies="new[] { typeof(Client._Imports).Assembly }">
    <Found Context="routeData">
        <RouteView RouteData="routeData" DefaultLayout="typeof(Layout.MainLayout)" />
        <FocusOnNavigate RouteData="routeData" Selector="h1" />
    </Found>
</Router>
Now you can start to update your components/pages with the InteractiveAuto render mode:
@rendermode InteractiveAuto
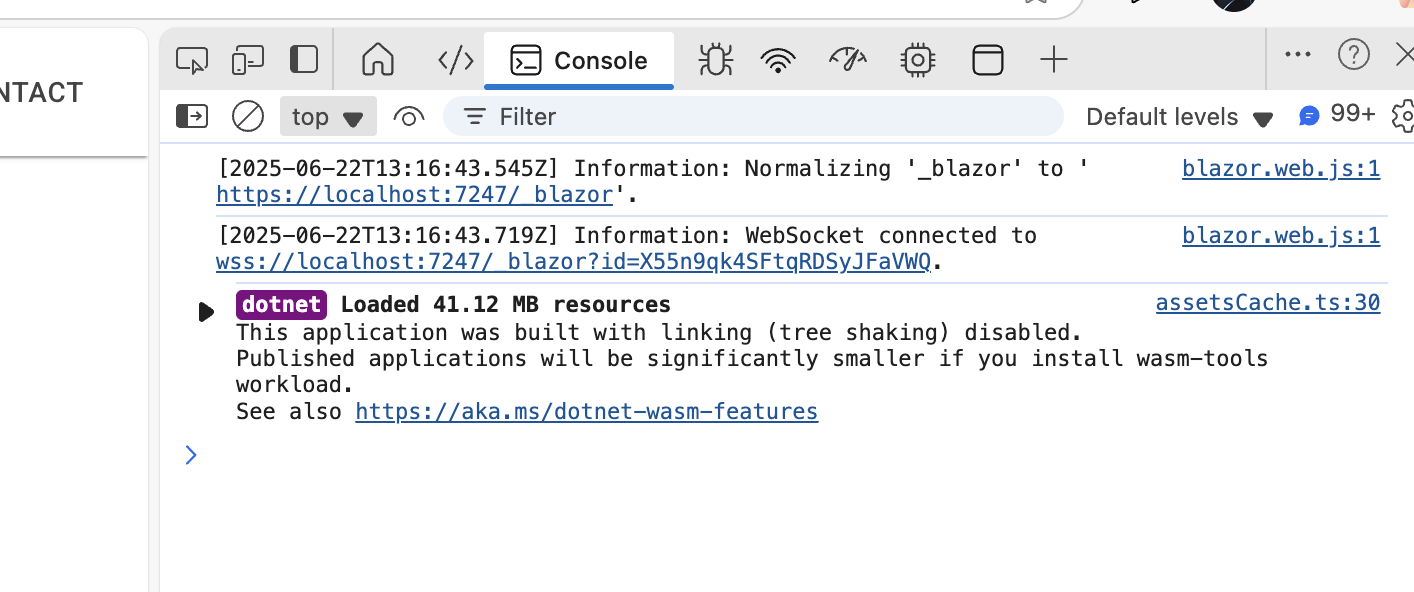
Now when you load those pages the first time, you’ll see the WebSocket connection, but also the download of the WASM runtime files:
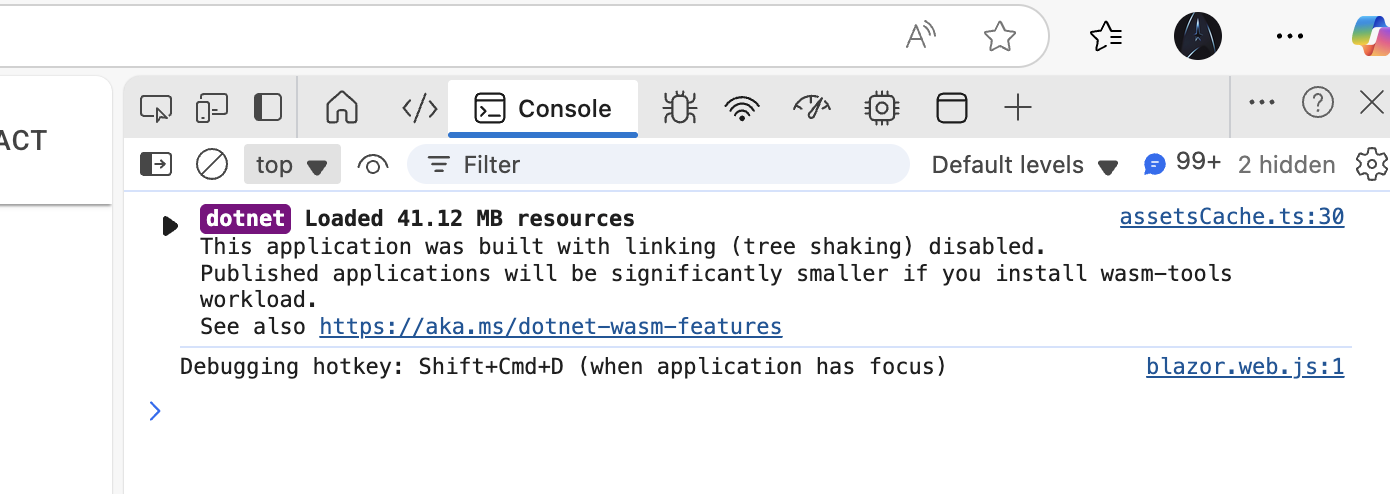
The next time you visit/refresh that page, you’ll only see the WASM runtime info:
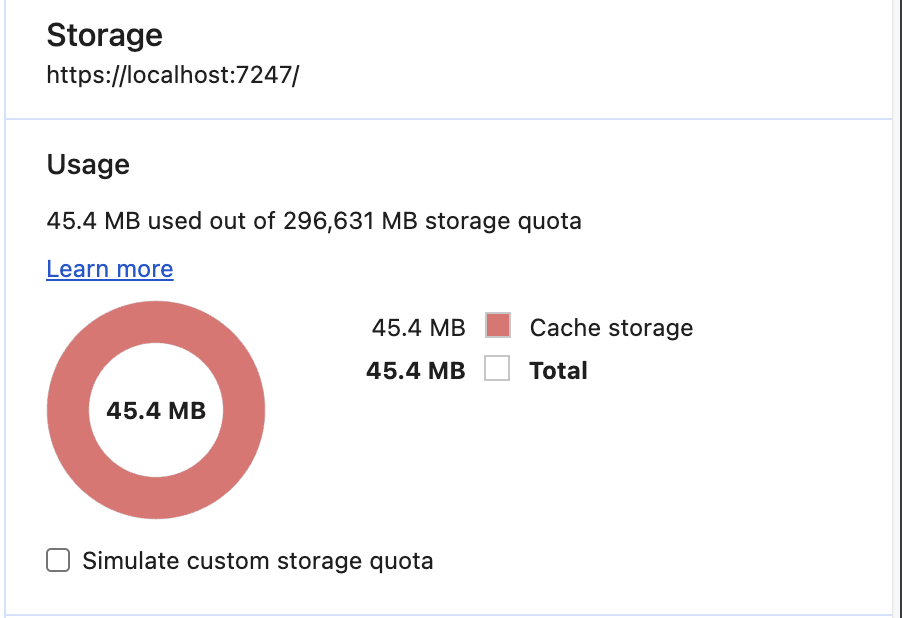
You can also see we're now caching that locally:
Gotchas & Real-World Considerations ⚠️
Each render mode has its pros and cons, but it’s never been easier to get started with Blazor. It’s nice to know that you don’t have to decide it all up front and you can start to pick and choose what modes to use. However, as I’ve mentioned earlier, there are some caveats to be mindful of, especially with the InteractiveAuto mode.
- **API Requests: **When using Auto mode, it’s probably easier on yourself if you consolidate around using an API backend with the HttpClient. This way your server and WASM code can work in the same way. You do lose some of that benefit of loading the initial data inline, but you’ll save yourself the hassle of managing branching logic based on what mode it’s currently in.
- Authentication: Authentication is a lot easier when you’re using SSR or Interactive Server mode. It works in the same way as you’re used to (if you come from Razor Pages, MVC, etc.) by setting up the Auth in the Program.cs and then using the [Authorize] attributes. When you start having to deal with WASM as well, you need a whole new Auth flow. At the moment, you can easily switch between the two when it comes to Auth. For WASM, you’d need to use the MSAL libraries (or equivalent if you’re not using Entra) and handle client-side auth flows.
- State Management: When using SSR or Interactive Server, you need to be very careful with state management as everything is happening on the server. If the connection fails or the socket is closed, all that data is lost. In .NET 10, this is getting a bit easier with some new state management APIs, but at the moment, you need to have a way of persisting your state between connection resets. Not a trivial endeavor!
- Debugging & Logging: Logging and debugging can be trickier when using the Auto mode. WASM logging is not as robust as server-side logging, so you need to factor this into your design and think about how you’re going to diagnose issues when they inevitably arise.
- Development Experience: Hot reload, debugging, and build times can differ depending on render mode, factor this into your team’s workflow and CI/CD setup.
- Framework Support: Not all Blazor frameworks like MudBlazor support SSR mode. You'll have to be creative when you pick and choose what to use. For this site I've had to split out interactive MudBlazor components to make sure they all run inside the InteractiveAuto runtime.
Final Thoughts 💭
Choosing the right Blazor render mode comes down to your application's needs, priorities, and long-term goals. For most modern web applications that don't require instant load times or complex SEO, I recommend Blazor WASM, it's incredibly flexible, enables true offline experiences, has excellent support from frameworks like MudBlazor, and offers the easiest interop with the browser and JavaScript.
If you want the benefits of both fast load/SEO and rich interactivity, the new InteractiveAuto approach is a fantastic middle ground, but keep in mind that it does add a layer of complexity, especially around API calls and state management. This is what I’m using for my website so you get the best of both! 🥇
On the other hand, if you require the highest levels of security or need full SEO support, then SSR and InteractiveServer remain your best bet. They provide rock-solid server-side control, excellent SEO, and predictable data security, albeit with some trade-offs in terms of client interactivity and network dependency.
Ultimately, the beauty of Blazor in .NET 8 and 9 is that you’re not locked into one model. You choose the mode that matches your use case, and don’t be afraid to experiment. Each option opens up new opportunities to optimize your apps for performance, user experience, and maintainability. It’s only going to get better with each .Net release.
Keep coding! 🚀
Comments (0)
No comments yet. Be the first to comment.
Subscribe so you don't miss out 🚀
Be the first to know about new blog posts, news, and more. Delivered straight to your inbox 📨