Using Aspire with Docker Hosts
Saturday, 24 May 2025
.NET Aspire is Microsoft’s orchestration tooling to really help with the developer experience. Many believe it’s only for .NET applications, but it can be used for pretty much any language. There are lots of integrations, both official and in the community toolkit, that give nice typed experiences. But if there isn’t a dedicated integration it’s not a problem, as long as you can run your application in Docker then Aspire has you covered.
To highlight this, we’re going to be publishing and deploying our Aspire application to a Digital Ocean droplet (though any VPS provider will work). For this demo, we have a basic .NET API, a Vue.js Vite web app, and a Postgres database. Everything we’re using here can be run on Docker and has no need for Azure or any specific cloud provider.
Info: The code for this is in my GitHub repo.
Our Demo App 🎬
To keep things focused on Docker publishing and orchestration, here’s a quick overview of our app:
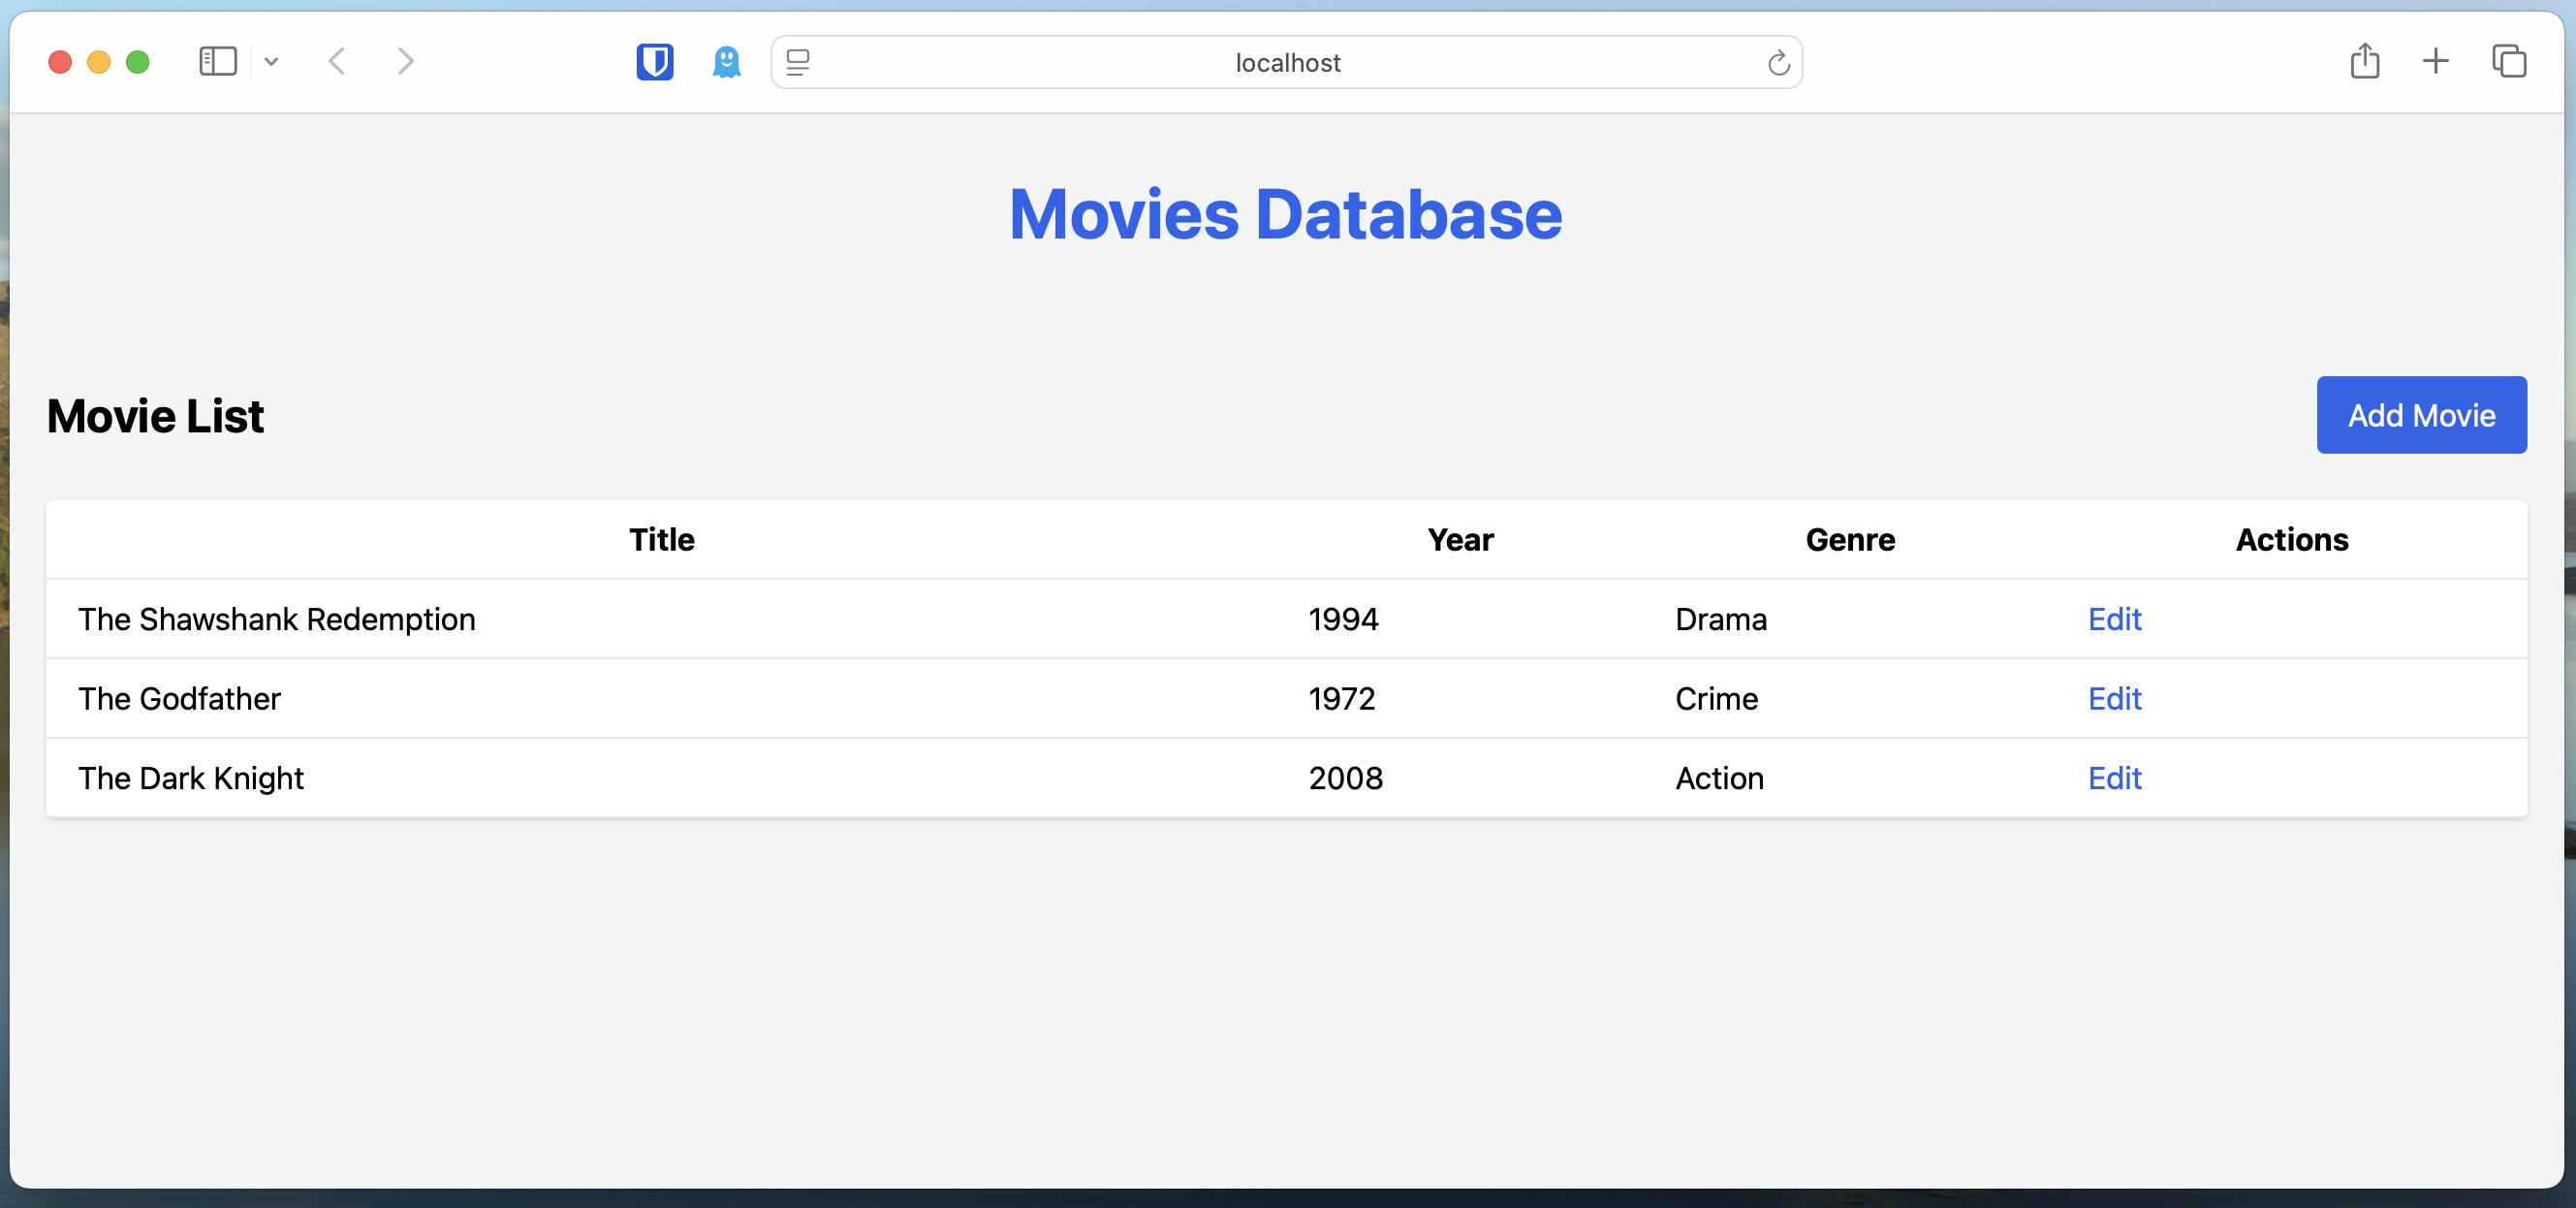
It’s a very basic app that allows us to add movies to our database and edit them. This is by no means a fancy UI and I’m not a Vue.js developer (the Vue.js markup was AI-generated), but it shows how we can use a JavaScript app with a .NET backend and our database.
You can clone the demo repo here:
git clone https://github.com/intrepid-developer/aspire-javascript-docker.git
How Aspire Pulls it Together 🛠️
So how does this all get wired up together with Aspire? If you’ve been following my blogs on Aspire, this should look very familiar. One of the best things about Aspire is that we can define our architecture in lovely C#. All this eventually gets converted into a docker-compose file when we use the Aspire CLI to publish it.
using AspireJs.AppHost;

var builder = DistributedApplication.CreateBuilder(args);

var env = builder.AddDockerComposeEnvironment("movies-env");

#pragma warning disable ASPIRECOMPUTE001

// Register our Postgres Database
var postgres = builder.AddPostgres("postgres")
    .WithEnvironment("POSTGRES_DB","movies")
    .WithDataVolume()
    .WithComputeEnvironment(env)
    .WithPgAdmin(resource => { resource.WithUrlForEndpoint("http", u => u.DisplayText = "PG Admin"); });

var database = postgres.AddDatabase("movies");

// Register our Api
var api = builder.AddProject<Projects.AspireJs_Api>("api")
    .WithExternalHttpEndpoints()
    .WithReference(database).WaitFor(database)
    .WithComputeEnvironment(env)
    .PublishAsDockerComposeService((_, service) =>
    {
        service.Restart = "always";
    });

// Register our VueJSApp
var web = builder.AddViteApp("web", "../AspireJs.Web")
    .WithNpmPackageInstallation()
    .WithExternalHttpEndpoints()
    .WithReference(api).WaitFor(api)
    .PublishAsDockerFile()
    .WithComputeEnvironment(env);
#pragma warning restore ASPIRECOMPUTE001

//Add Aspire Dashboard for use with Docker
builder.AddDashboard();

builder.Build().Run();
We’re using the new (as of Aspire 9.3) builder.AddDockerComposeEnvironment(); syntax to tell Aspire that we want to host our resources in a Docker environment. If we wanted to publish this to something like Azure, we could use the builder.AddAzureContainerAppEnvironment() instead.
You can also mix and match hosting environments. For example, you could use Kubernetes and Docker Compose environments side by side, and Aspire will publish the correct packages.
Note: #pragma warning disable ASPIRECOMPUTE001 is used to stop the compiler complaining as this is very much in preview at the moment.
Breaking Down a Resource
Let’s look at one of the resources and go over what’s happening.
// Register our VueJSApp
var web = builder.AddViteApp("web", "../AspireJs.Web")
    .WithNpmPackageInstallation()
    .WithExternalHttpEndpoints()
    .WithReference(api).WaitFor(api)
    .PublishAsDockerFile()
    .WithComputeEnvironment(env);
The first thing we see is AddViteApp, this is an integration in Aspire language. This allows us to tell Aspire that we want to host a Vite app. We give it a name “Web” and point it to the folder where our Vue.js application is “AspireJs.Web”. Using AddViteApp allows us to run our Vite app in dev mode, so we have all the fancy hot reload goodness as we develop our app.
Next, we tell it to use npm and make sure it runs the npm install step with WithNpmPackageInstallation(). If you’re not using npm, there is support for other providers (e.g., pnpm, yarn, etc.).
As this is our web front end, we want to make sure it’s published with external HTTP access, so we call .WithExternalHttpEndpoints(). Our web app needs to be able to talk to the API, so we give it a reference to it using WithReference(api). The WaitFor(api) is only used when running Aspire for local development and tells the app host that it should run the web app once the API is running and healthy.
Finally, we have PublishAsDockerFile() and .WithComputeEnvironment(env). These tell Aspire that when we publish this resource, we need to use the .Dockerfile in the web app project and that we want it to be run on our Docker host.
Publishing with Aspire 🏗️
For this blog, we’ll be using the new publishing features in the Aspire CLI. You’ll also need to have a VPS set up somewhere and a Docker container repository. I’ll be using Digital Ocean (use my affiliate link for $200 free credit to use).
You can install the Aspire CLI using this command:
dotnet tool install --global aspire.cli --prerelease
Set up a Digital Ocean Container Registry: https://docs.digitalocean.com/products/container-registry/getting-started/quickstart/
Set up your Droplet: https://docs.digitalocean.com/products/droplets/getting-started/quickstart/
Now that you’ve got those set up, it’s time to publish our docker-compose.yaml file. Aspire CLI does all this for us as well as build the Docker images and push them to our local Docker registry:
aspire publish -o infra

Docker Compose
Let’s have a look at the two files Aspire has created for us.
services:
  postgres:
    image: "docker.io/library/postgres:17.4"
    environment:
      POSTGRES_HOST_AUTH_METHOD: "scram-sha-256"
      POSTGRES_INITDB_ARGS: "--auth-host=scram-sha-256 --auth-local=scram-sha-256"
      POSTGRES_USER: "postgres"
      POSTGRES_PASSWORD: "${POSTGRES_PASSWORD}"
      POSTGRES_DB: "movies"
      OTEL_EXPORTER_OTLP_ENDPOINT: "http://dashboard:18889"
      OTEL_EXPORTER_OTLP_PROTOCOL: "grpc"
      OTEL_SERVICE_NAME: "postgres"
    ports:
      - "8000:5432"
    volumes:
      - type: "volume"
        target: "/var/lib/postgresql/data"
        source: "aspirejs.apphost-a638830242-postgres-data"
        read_only: false
    networks:
      - "aspire"
  api:
    image: "${API_IMAGE}"
    environment:
      OTEL_DOTNET_EXPERIMENTAL_OTLP_EMIT_EXCEPTION_LOG_ATTRIBUTES: "true"
      OTEL_DOTNET_EXPERIMENTAL_OTLP_EMIT_EVENT_LOG_ATTRIBUTES: "true"
      OTEL_DOTNET_EXPERIMENTAL_OTLP_RETRY: "in_memory"
      ASPNETCORE_FORWARDEDHEADERS_ENABLED: "true"
      HTTP_PORTS: "8001"
      ConnectionStrings__movies: "Host=postgres;Port=5432;Username=postgres;Password=${POSTGRES_PASSWORD};Database=movies"
      OTEL_EXPORTER_OTLP_ENDPOINT: "http://dashboard:18889"
      OTEL_EXPORTER_OTLP_PROTOCOL: "grpc"
      OTEL_SERVICE_NAME: "api"
    ports:
      - "8002:8001"
      - "8004:8003"
    depends_on:
      postgres:
        condition: "service_started"
    networks:
      - "aspire"
    restart: "always"
  web:
    image: "${WEB_IMAGE}"
    environment:
      NODE_ENV: "production"
      PORT: "8005"
      services__api__http__0: "http://api:8001"
      OTEL_EXPORTER_OTLP_ENDPOINT: "http://dashboard:18889"
      OTEL_EXPORTER_OTLP_PROTOCOL: "grpc"
      OTEL_SERVICE_NAME: "web"
    ports:
      - "8006:8005"
    depends_on:
      api:
        condition: "service_started"
    networks:
      - "aspire"
  dashboard:
    image: "mcr.microsoft.com/dotnet/nightly/aspire-dashboard:latest"
    ports:
      - "8007:18888"
      - "8008:18889"
    networks:
      - "aspire"
    restart: "always"
networks:
  aspire:
    driver: "bridge"
volumes:
  aspirejs.apphost-a638830242-postgres-data:
    driver: "local"
This is a pretty standard docker-compose file. It outlines what resources we need for our application and what the dependencies between them are. It handles setting up a Docker network so they can all talk to each other, and what environment variables they need.
Speaking of environment variables, let’s look at the other file Aspire has created: the .env file. This has the specifics we need for the app, where to find the images, and what password to use for the Postgres database. We just need to tweak it slightly to look for our Digital Ocean Container Registry.
# Parameter postgres-password
POSTGRES_PASSWORD=SUPER_STRONG_PASSWORD

# Container image name for api
API_IMAGE=registry.digitalocean.com/<YOUR REGISTRY>/api:latest

# Container image name for web
WEB_IMAGE=registry.digitalocean.com/<YOUR REGISTRY>/web:latest
Pushing Images to Digital Ocean Registry ☁️
Once Aspire has created our images and files, we need to make sure they’re accessible to our VPS. To do that, we need to make sure we’re signed into the registry (you’ll need your API key from the dashboard):
doctl registry login
Then we need to tag the new api and web images and push them up to the registry:
docker tag api registry.digitalocean.com/{your registry}/api

docker tag web registry.digitalocean.com/{your registry}/web

docker push registry.digitalocean.com/{your registry}/api

docker push registry.digitalocean.com/{your registry}/web
Special Note 🧑💻
If you’re using an ARM-based device like an Apple Mac, you will need to make sure the Docker images are built using the amd64 architecture. You can tell Docker to use linux x64 by setting an environment variable:
export DOCKER_DEFAULT_PLATFORM=linux/amd64
You might also need to manually publish the .NET API if you have issues running it on your VPS. You can do this with this command:
dotnet publish AspireJs/AspireJs.Api/AspireJs.Api.csproj --configuration Release /t:PublishContainer /p:ContainerRepository=api --os linux --arch x64
You’ll then need to tag and push to the container registry again.
Deploying to Digital Ocean/Docker
Now we have our images and docker-compose file ready, we can get this app deployed. First you’ll need to SSH into your droplet:
ssh root@{droplet ip address}
Make sure you have Docker installed. You can follow a handy guide here: https://www.digitalocean.com/community/tutorials/how-to-install-and-use-docker-on-ubuntu-20-04
Then we just need to copy our docker-compose.yml and .env files. You can either copy the files using something like scp over SSH:
scp .env root@{droplet ip}:/home/root/

scp docker-compose.yml root@{droplet ip}:/home/root/
Alternatively, you can create the files using nano and just copy the text into it from your local machine.
Now that we have our files deployed to the droplet, we need to connect to the Container Registry. Install the Digital Ocean CLI (use the link above) and log in the same as you did on your local machine.
Finally, we can get Docker to fire it all up for us:
docker compose up -d

The -d flag will make it run in headless mode so it will stay running if your SSH connection drops.
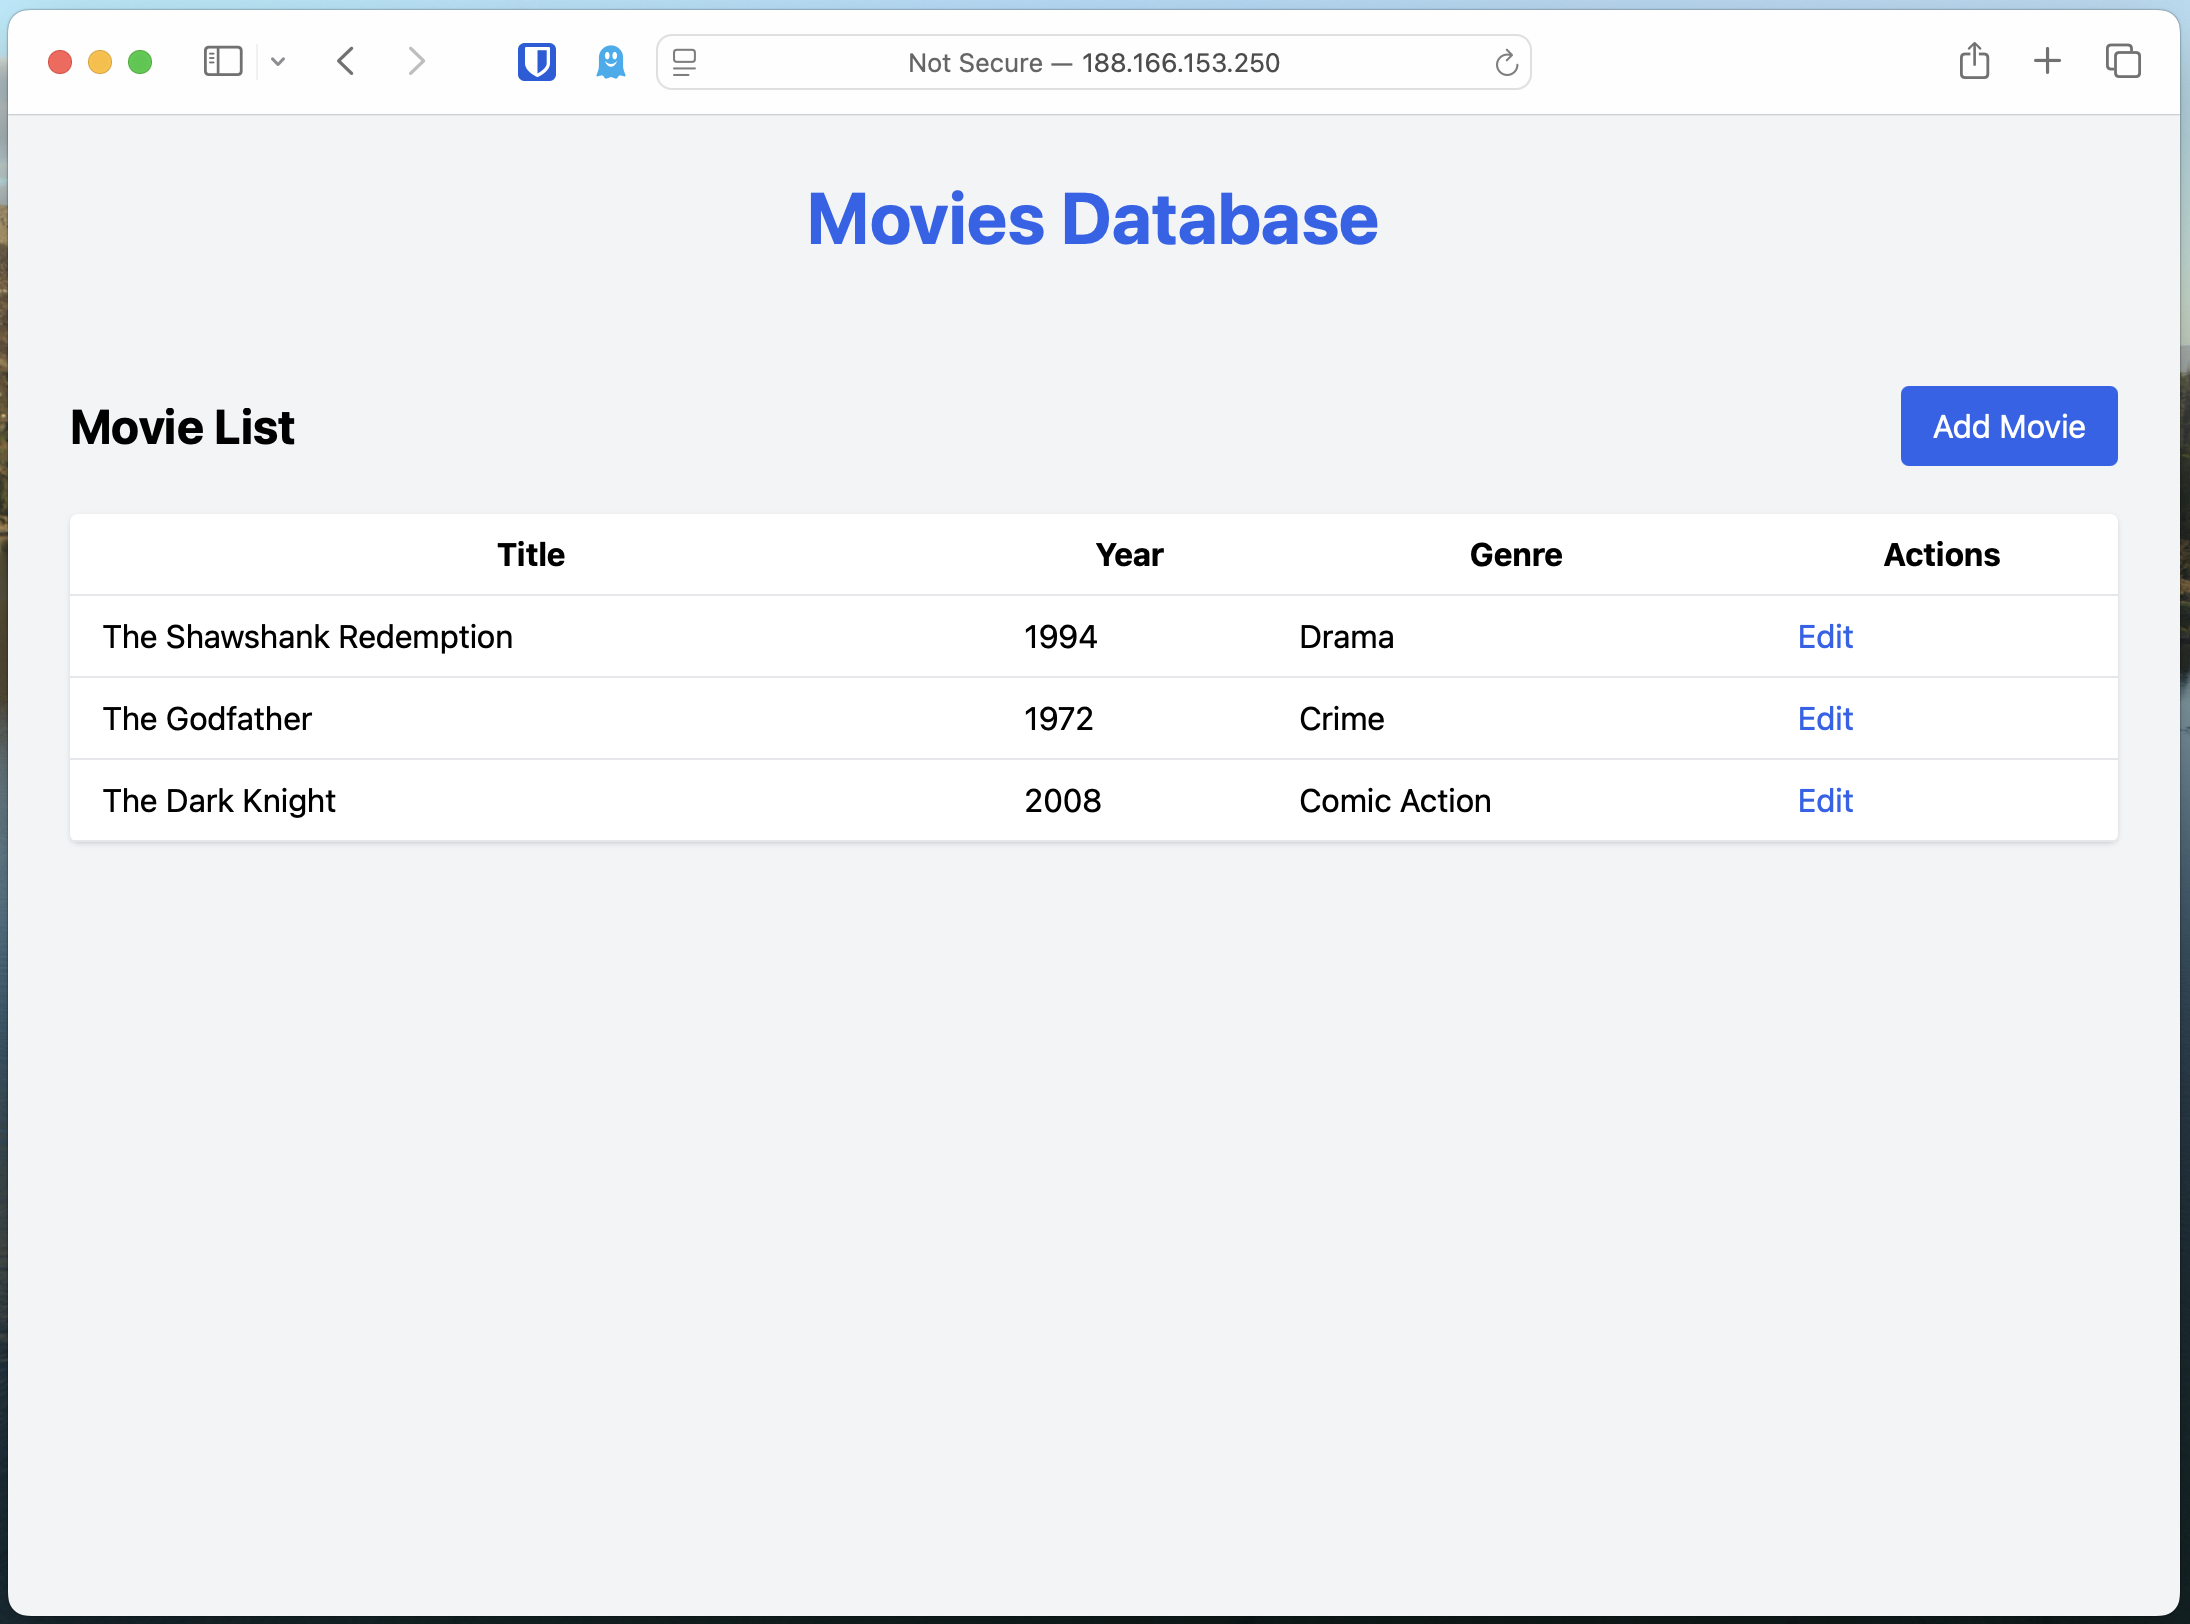
You should now be able to view it in your browser:
http://{droplet ip}:8006
Note: This isn’t a secure connection and in a real production app you’d want to have proper SSL set up and use the standard port mappings.
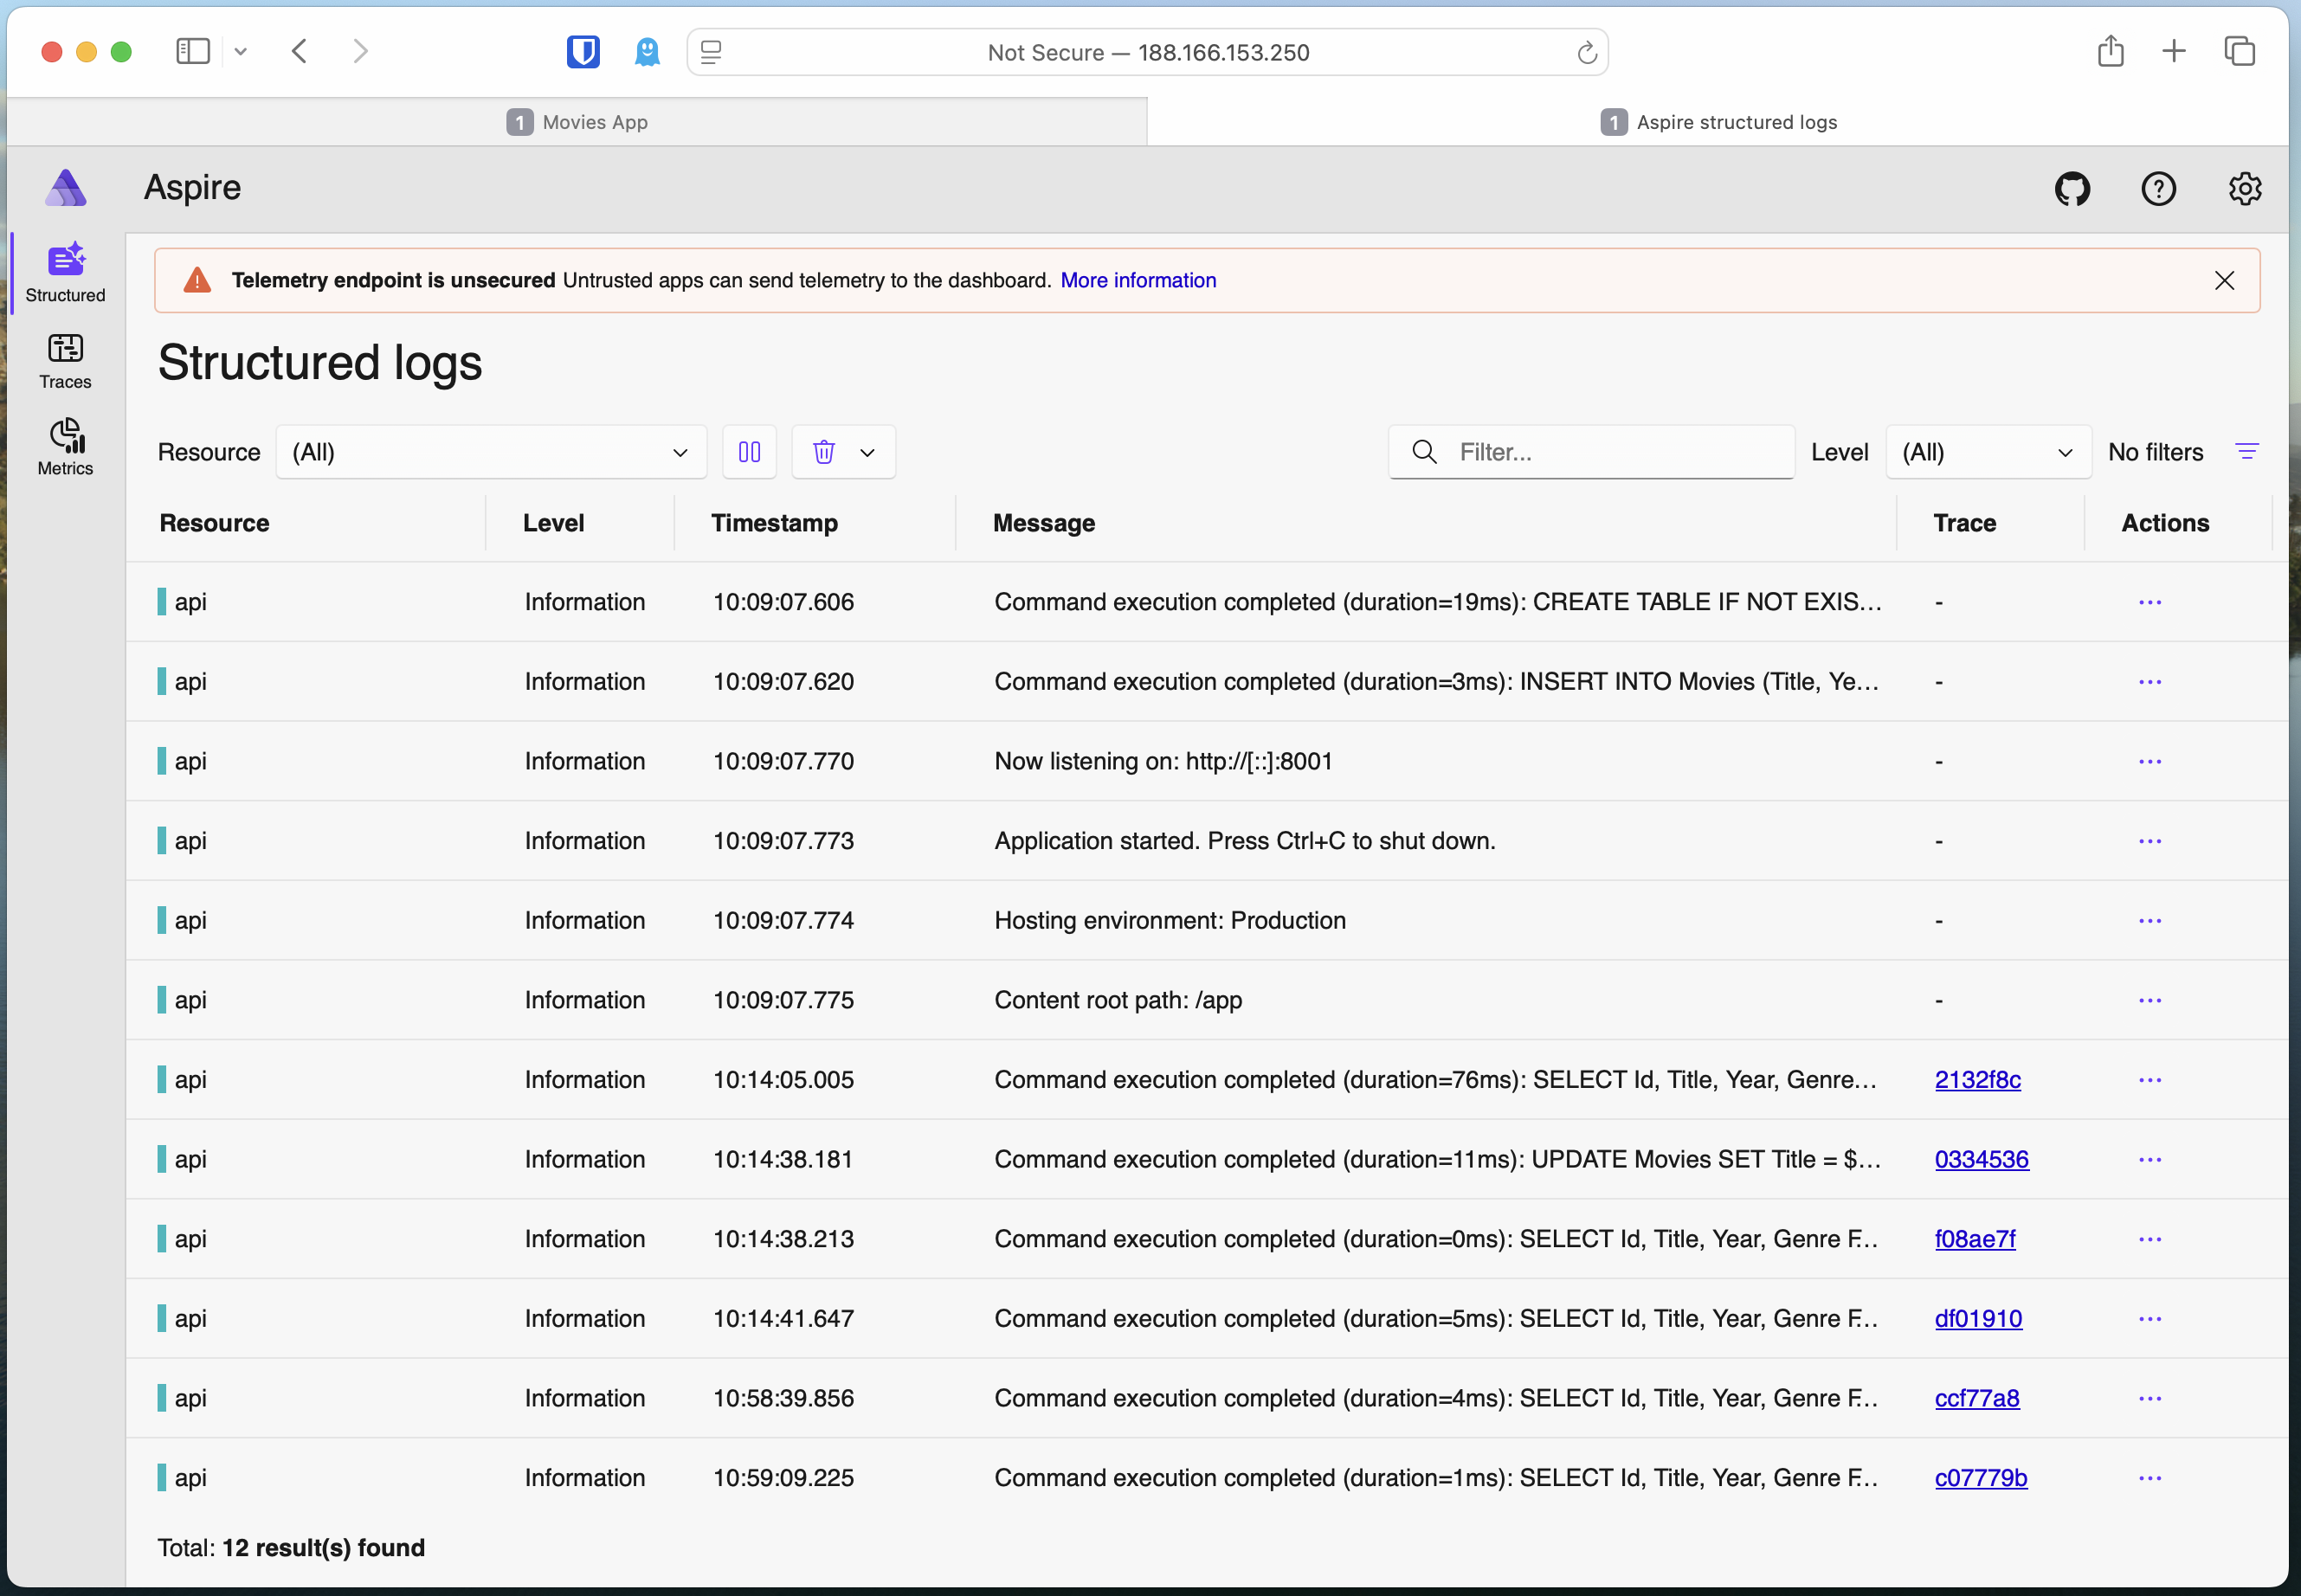
Bonus Round 🎯
In the application, we also have the stripped-down version of the Aspire Dashboard as a Docker image. This allows you to see the logging and tracing for your app. You’ll have to grab the auth token from the Docker logs using this command (via your SSH terminal on the droplet):
docker logs -f aspire-app-dashboard-1
You’re looking for something like this:
Login to the dashboard at http://localhost:18888/login?t=f3867cc7bf09f0c048dade2703f6bc95. The URL may need changes depending on how network access to the container is configured.
The URL is for the internal one to the droplet; to access it externally you’ll want to use:
http://{droplet ip}:8007/login?t={code from above}
Touching on Service Discovery 🌐
I wanted to take a minute as well to talk about how Service Discovery works and how it’s used. Service Discovery is something Aspire and Docker provide so that our applications can easily communicate with each other without us having to hard-code values. This is great because it takes away the chance of misconfiguration, such as forgetting to change a URL from development to production.
So how does it work? Aspire lets us wire this up using the WithReference() methods. This gets converted to something like this: services__api__http__0: "http://api:8001" in the docker-compose file. In this example, it’s setting the API up for our web front end. Docker creates a network in the background that allows the web to find the API using the http://api:8001 URL rather than something like http://my-local-domain.com.
There is a little more to this than meets the eye as well. For this to work when it’s deployed, we do a little nginx magic too. The web app uses a Dockerfile that copies a basic nginx config, snippet:
location /api/ {
        proxy_pass ${services__api__http__0};
        proxy_http_version 1.1;
        proxy_ssl_server_name on;
        proxy_set_header X-Forwarded-For $proxy_add_x_forwarded_for;
        rewrite ^/api(/.*)$ $1 break;
    }
What this does is set up a proxy so that when the app calls /api, it essentially gets redirected to the internal API running in our Docker host. I’ll aim to do a Proxies and Service Discovery blog post in the future that goes into all this in more detail. But rest assured, it’s a super useful bit of tech that’s quite magical when it works. ✨
Final Thoughts
Using Aspire with Docker opens up a world of flexibility for developers who want to orchestrate applications in multiple languages, whether they're working locally, in the cloud, or on a VPS like Digital Ocean. By defining our architecture in clean, expressive C#, we benefit from a smooth development and deployment experience, without being locked into a single cloud provider or platform.
What this walkthrough really highlights is how Aspire takes the heavy lifting out of managing infrastructure. From defining services and wiring up dependencies, to publishing Docker images and generating docker-compose files, Aspire makes multi-service deployment approachable and efficient.
The key takeaway here is this: Aspire is more than just a tool for .NET, it’s a flexible orchestration framework for modern, containerised applications. Whether your frontend is written in Vue, your backend in .NET, or your data lives in Postgres, Aspire helps tie it all together in a way that’s production-friendly and developer-first. Plus it saves you having to worry about learning the ins-and-outs of IaC scripts like Bicep, Terraform, etc.
👋 Subscribe so you don’t miss out!
Now that you've seen it in action, why not give it a go with your own tech stack? Let me know what you build! Don’t forget to subscribe so you’re the first to know about new blogs.
Let’s build and learn together! 🚀
Comments (0)
No comments yet. Be the first to comment.
Subscribe so you don't miss out 🚀
Be the first to know about new blog posts, news, and more. Delivered straight to your inbox 📨